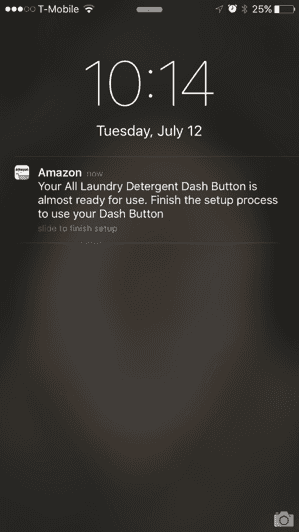
In my last post about hacking Amazon Dash buttons, I mentioned there were some hiccups you would run into when trying to make an ordinary Dash Button work for IoT purposes. Namely, you would get an annoying popup on your phone about how you haven't configured an item to ship when pressed.
Annoying...
Sure, there were ways around it, but the tradeoffs weren't things I was willing to deal with.
So it sits on my dryer, awaiting the day I feel like blowing extra cash on detergent...
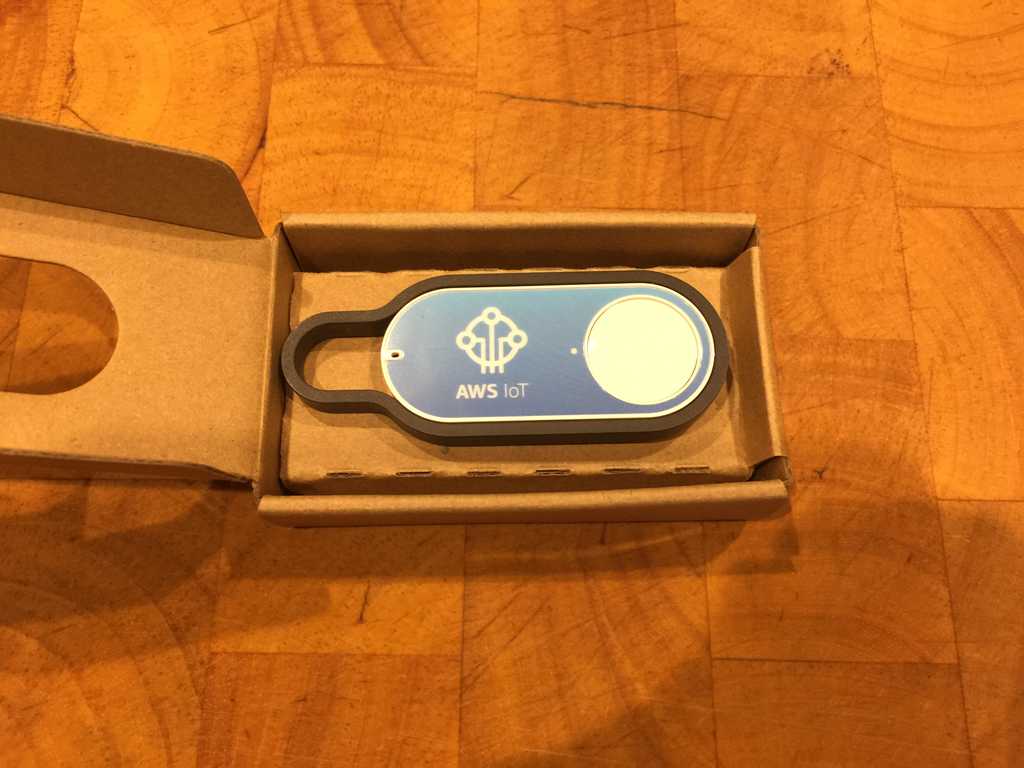
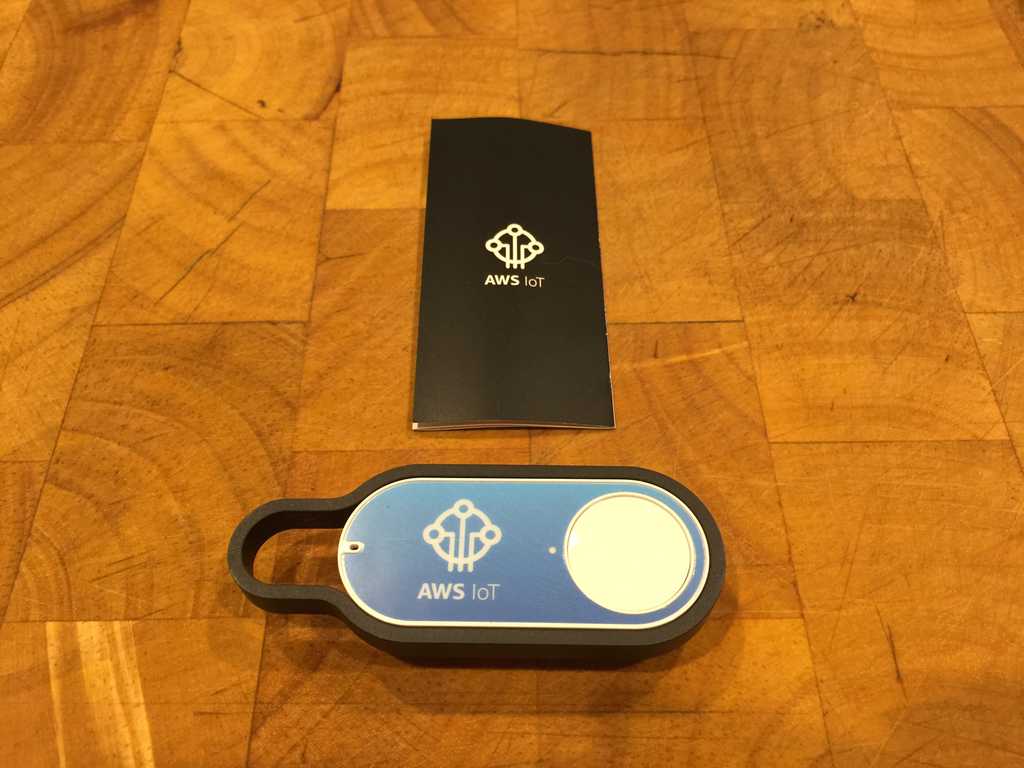
And then my AWS IoT Button finally shipped. After what, three months? I thought Prime was quicker than that...
Ok, ok, it was a preorder, but still, that was a long wait.
The good news is, it works as you would expect without any annoying popups or other weirdness. At least, none that I ran into.
So how does it work? The process is fairly straight forward.
Overview
After you have the button set up (which I'll go into later), pressing it allows the button to turn on, connect to AWS, and fire off a Lambda function that you configure during set up. For those that don't know, Amazon Lambda allows you specify a block of either Java, Javascript, or Python code that is run in the cloud every time the button is pressed.
This raised at least one obvious question for me. What if the device I want this button to interact with exists on my local network and is not accessible from the greater internet? Unless that device itself has some cloud connectivity, you're going to wind up crafting something custom.
Luckily, the AWS IoT button works the same way the original Dash button works in that when it's pressed, it sends out an ARP request on the local network which can be captured fairly easily. I used the go-dash-button library written by Mike Flynn to do my initial tinkering with the button and it worked just fine.
That being said, there are tons of ways to get this to interact with your local network besides using the ARP request method.
I wanted to integrate the button with my Home Assistant install and as such, I typically use MQTT for sharing messages on my local network. After exposing my MQTT server to the greater web and locking it down, I was able to configure the AWS Lambda function to connect to my home MQTT broker and send a message that Home Assistant could then use for automation.
Setup
This was the part that seemed a little unpolished for me. With the Dash button, the wifi is configured through the Amazon app and is a pretty seemless process if I remember correctly. With the AWS IoT button though, it's a bit different. Not unlike many other IoT devices that require internet connectivity, the button creates its own wifi network that you have to connect to with another device.
Before you even get to that point though, you have to set up your Lambda function within the AWS management console and grab some assorted information (including a certificate and private key) to plug into the button's set up page. This part was a little cumbersome, but not too terrible.
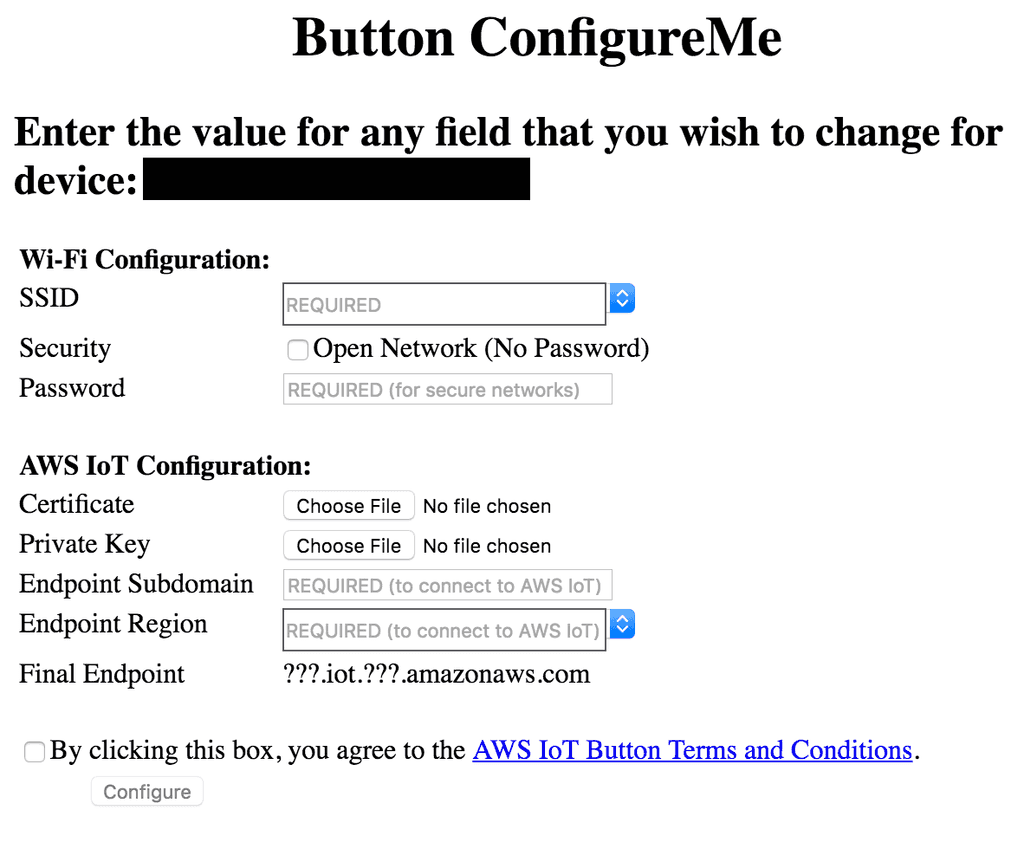
Once you've done that, you are instructed to connect to the device's wifi network and pull up a webpage using the IP of the device to configure it. It looks like this:
Once that's done though, it's easy to use and modify to your liking. You can simply edit your Lambda code and it'll fire at will when pushed.
A Caveat
I mentioned earlier that the way I got the button to work with my home network was to have my Lambda function connect to a publicly accessible MQTT broker. I wanted to clarify one caveat for why I did that instead of just using the go-dash-button library to send MQTT messages so that I don't have to rely on internet connectivity. The reason I did this is that the AWS IoT button supports three different button pushes: single, double, and long press. If you use the ARP library approach, you just get a notification that it's been pressed (or rather, you get a notification that the button is sending an ARP request as it connects to your local network). That's it. If you want to take advantage of those three different modes, I believe the only way is to use the Lambda approach.
I essentially had the Lambda function send an MQTT message with a payload that specifies how the button was pressed so that my Home Assistant install can make use of all three modes.
A Tip
One tip that I came across for making the button a little bit snappier is to get the button's MAC address and set up an IP reservation with your local DHCP provider. The button would often take between 10 and 20 seconds to connect and execute the Lambda function and after giving it a DHCP reservation, it cut this time down some. It seems that some significant portion of that time was spent negotiating an IP.
