Of nothing in particular

by James Miller

A few years ago, I went with some friends to see The Rise of Skywalker in theatres. Before the show, in the lobby, there was a member of the 501st Legion in their Stormtrooper armor taking pictures with everyone. Far be it from me to pass on that opportunity.

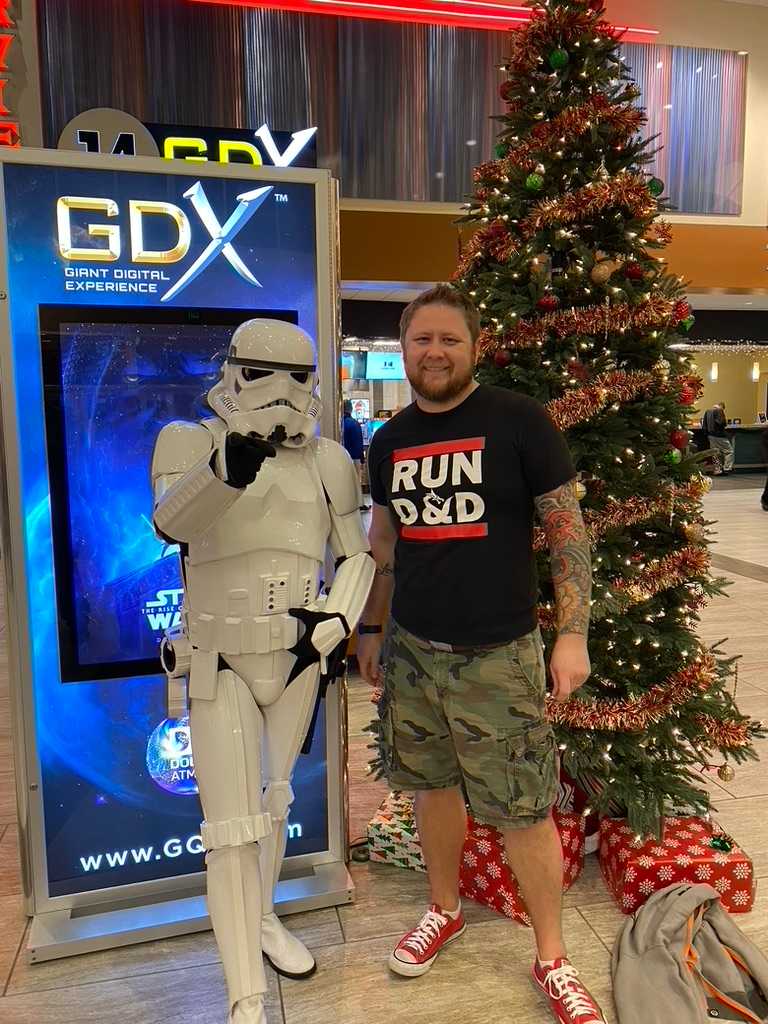
After we took that picture, I mentioned to him that I'd been thinking of joining the 501st. He reached for his belt and pulled out what looked like a baseball card with his picture, name, biography, and TK number.

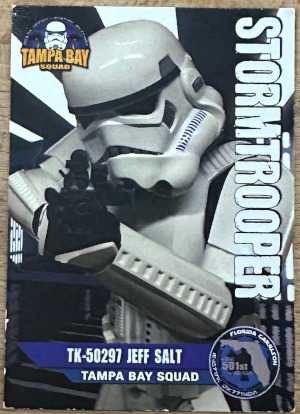
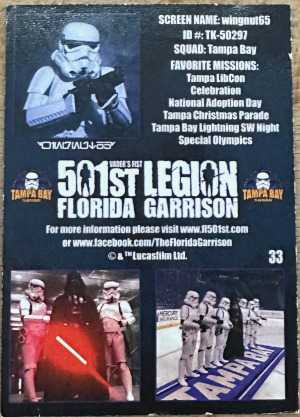
For those unaware, the 501st Legion is a Star Wars costuming group that does charities, parades, children's hospitals, and so much more all in the name of brightening people's day. They've even been called in to be screen extras! It felt like a worthy cause and I also get Stormtrooper armor out of it? I was sold. I kept that card as a reminder and before very long I pulled the trigger on my very own set of armor. A few months later, a huge box showed up on my doorstep.

Unpacked!

Building stormtrooper armor is no small feat. There are very specific requirements that your armor needs to meet in order to be elligible for admission. The armor I purchased is specifically from Rogue One. As such, I have to follow the CRL (Costume Reference Library) for this armor in order to get approved. Did I mention the requirements are very specific? Because they are very specific. As an example, there are three levels of certification and this is one of the helmet requirements for Centurion approval:

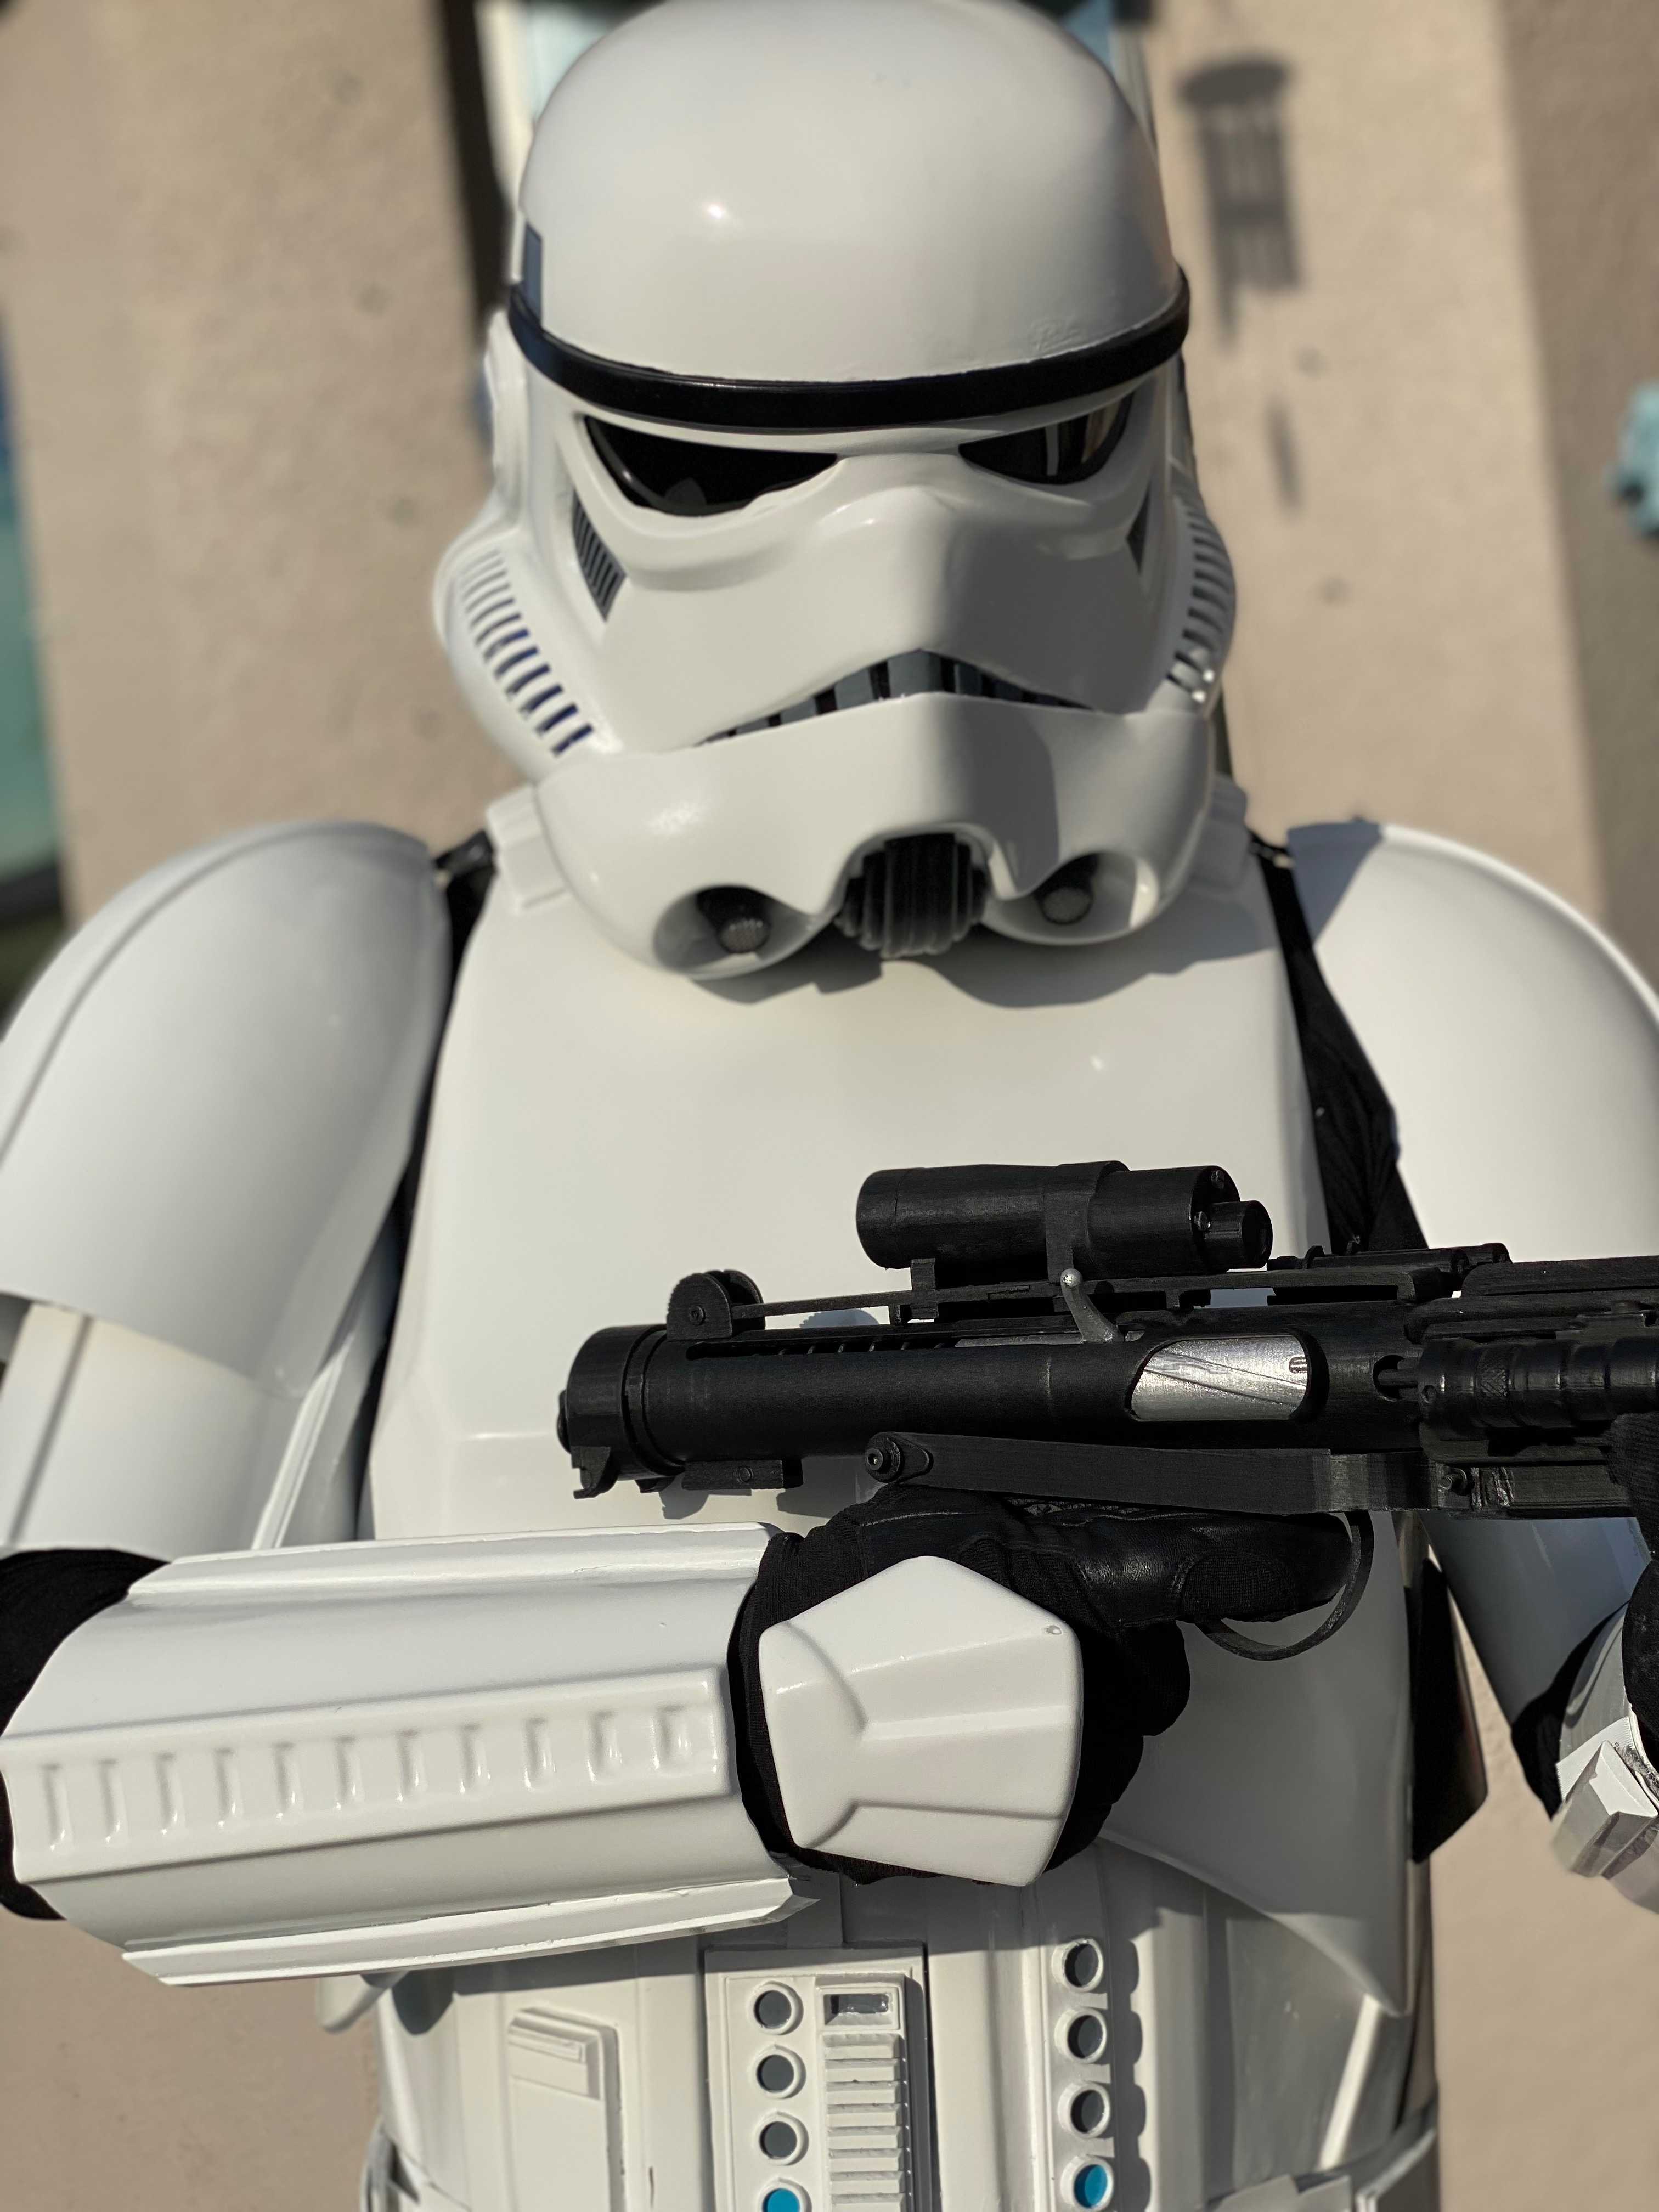
There is a small bump in the right eye socket (when worn) under the lens as an intended flaw to pay tribute to the original trilogy designers.

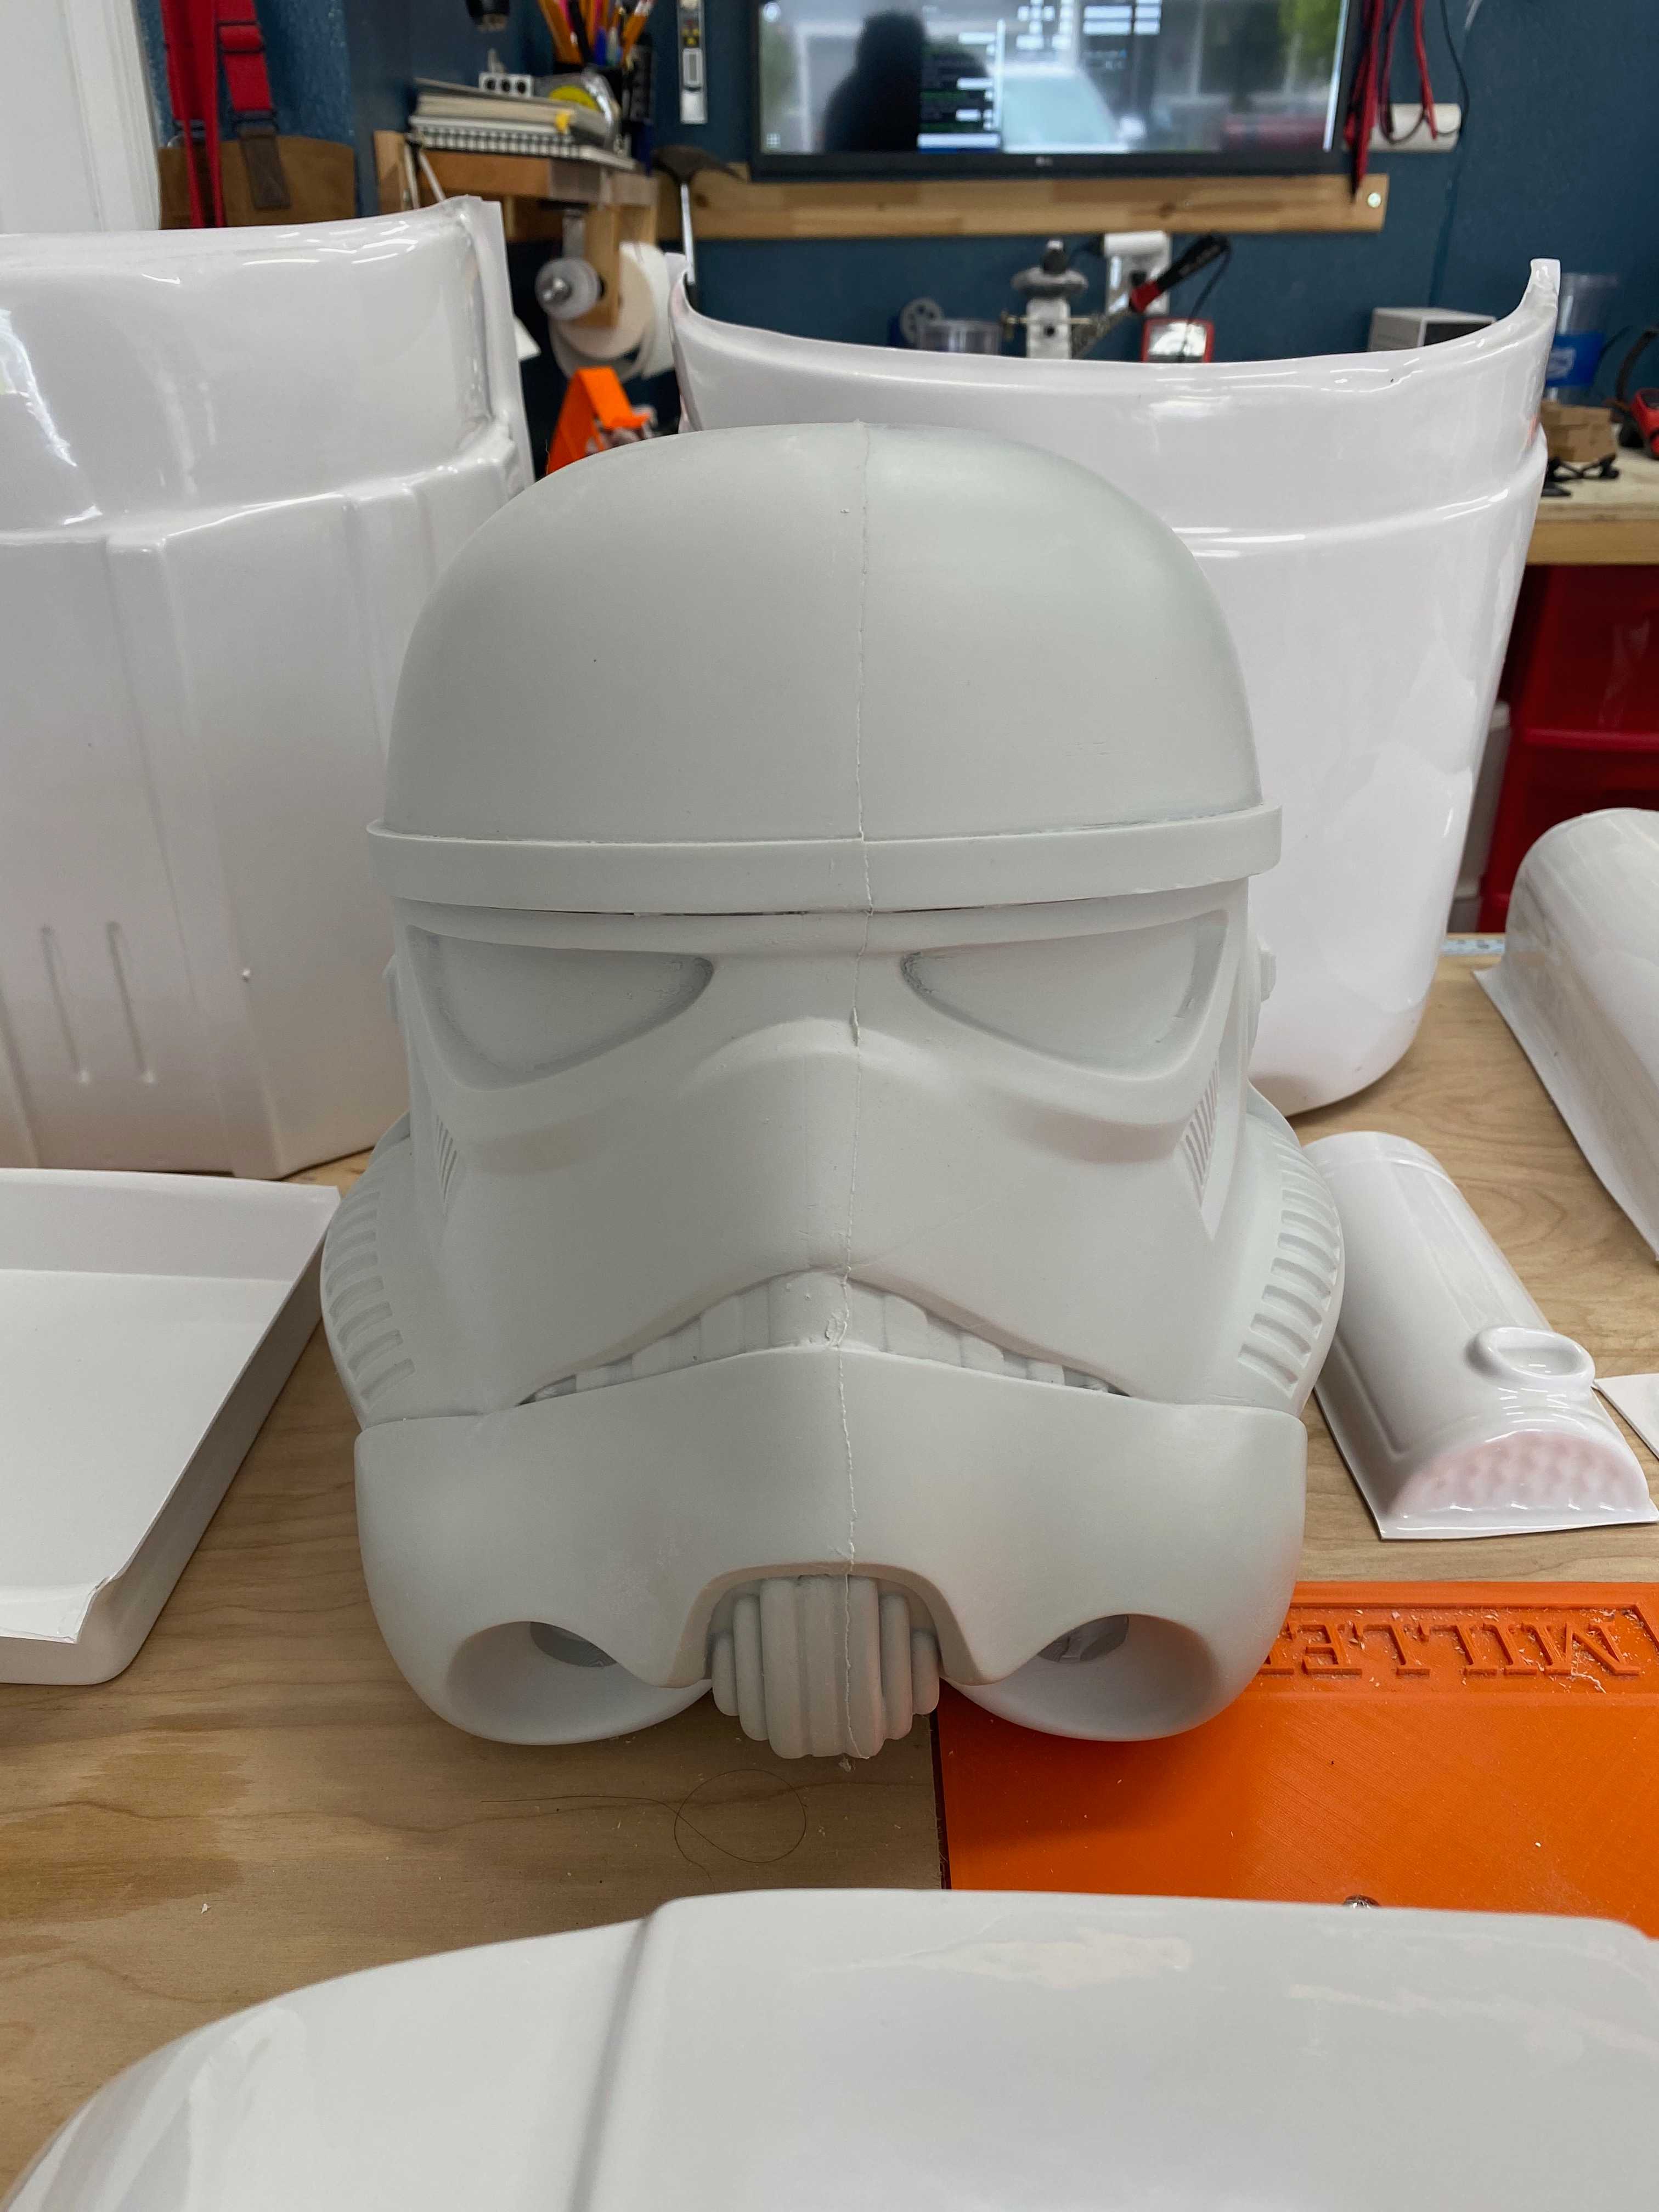
Now admittedly, that is for Centurion approval which is the highest level of approval. However, the fact that they require you to put a flaw in your armor to pay homage is just wild (and accurate!), and I love it. See if you can spot the flaw on my (now mostly finished) helmet:

Unpacked!

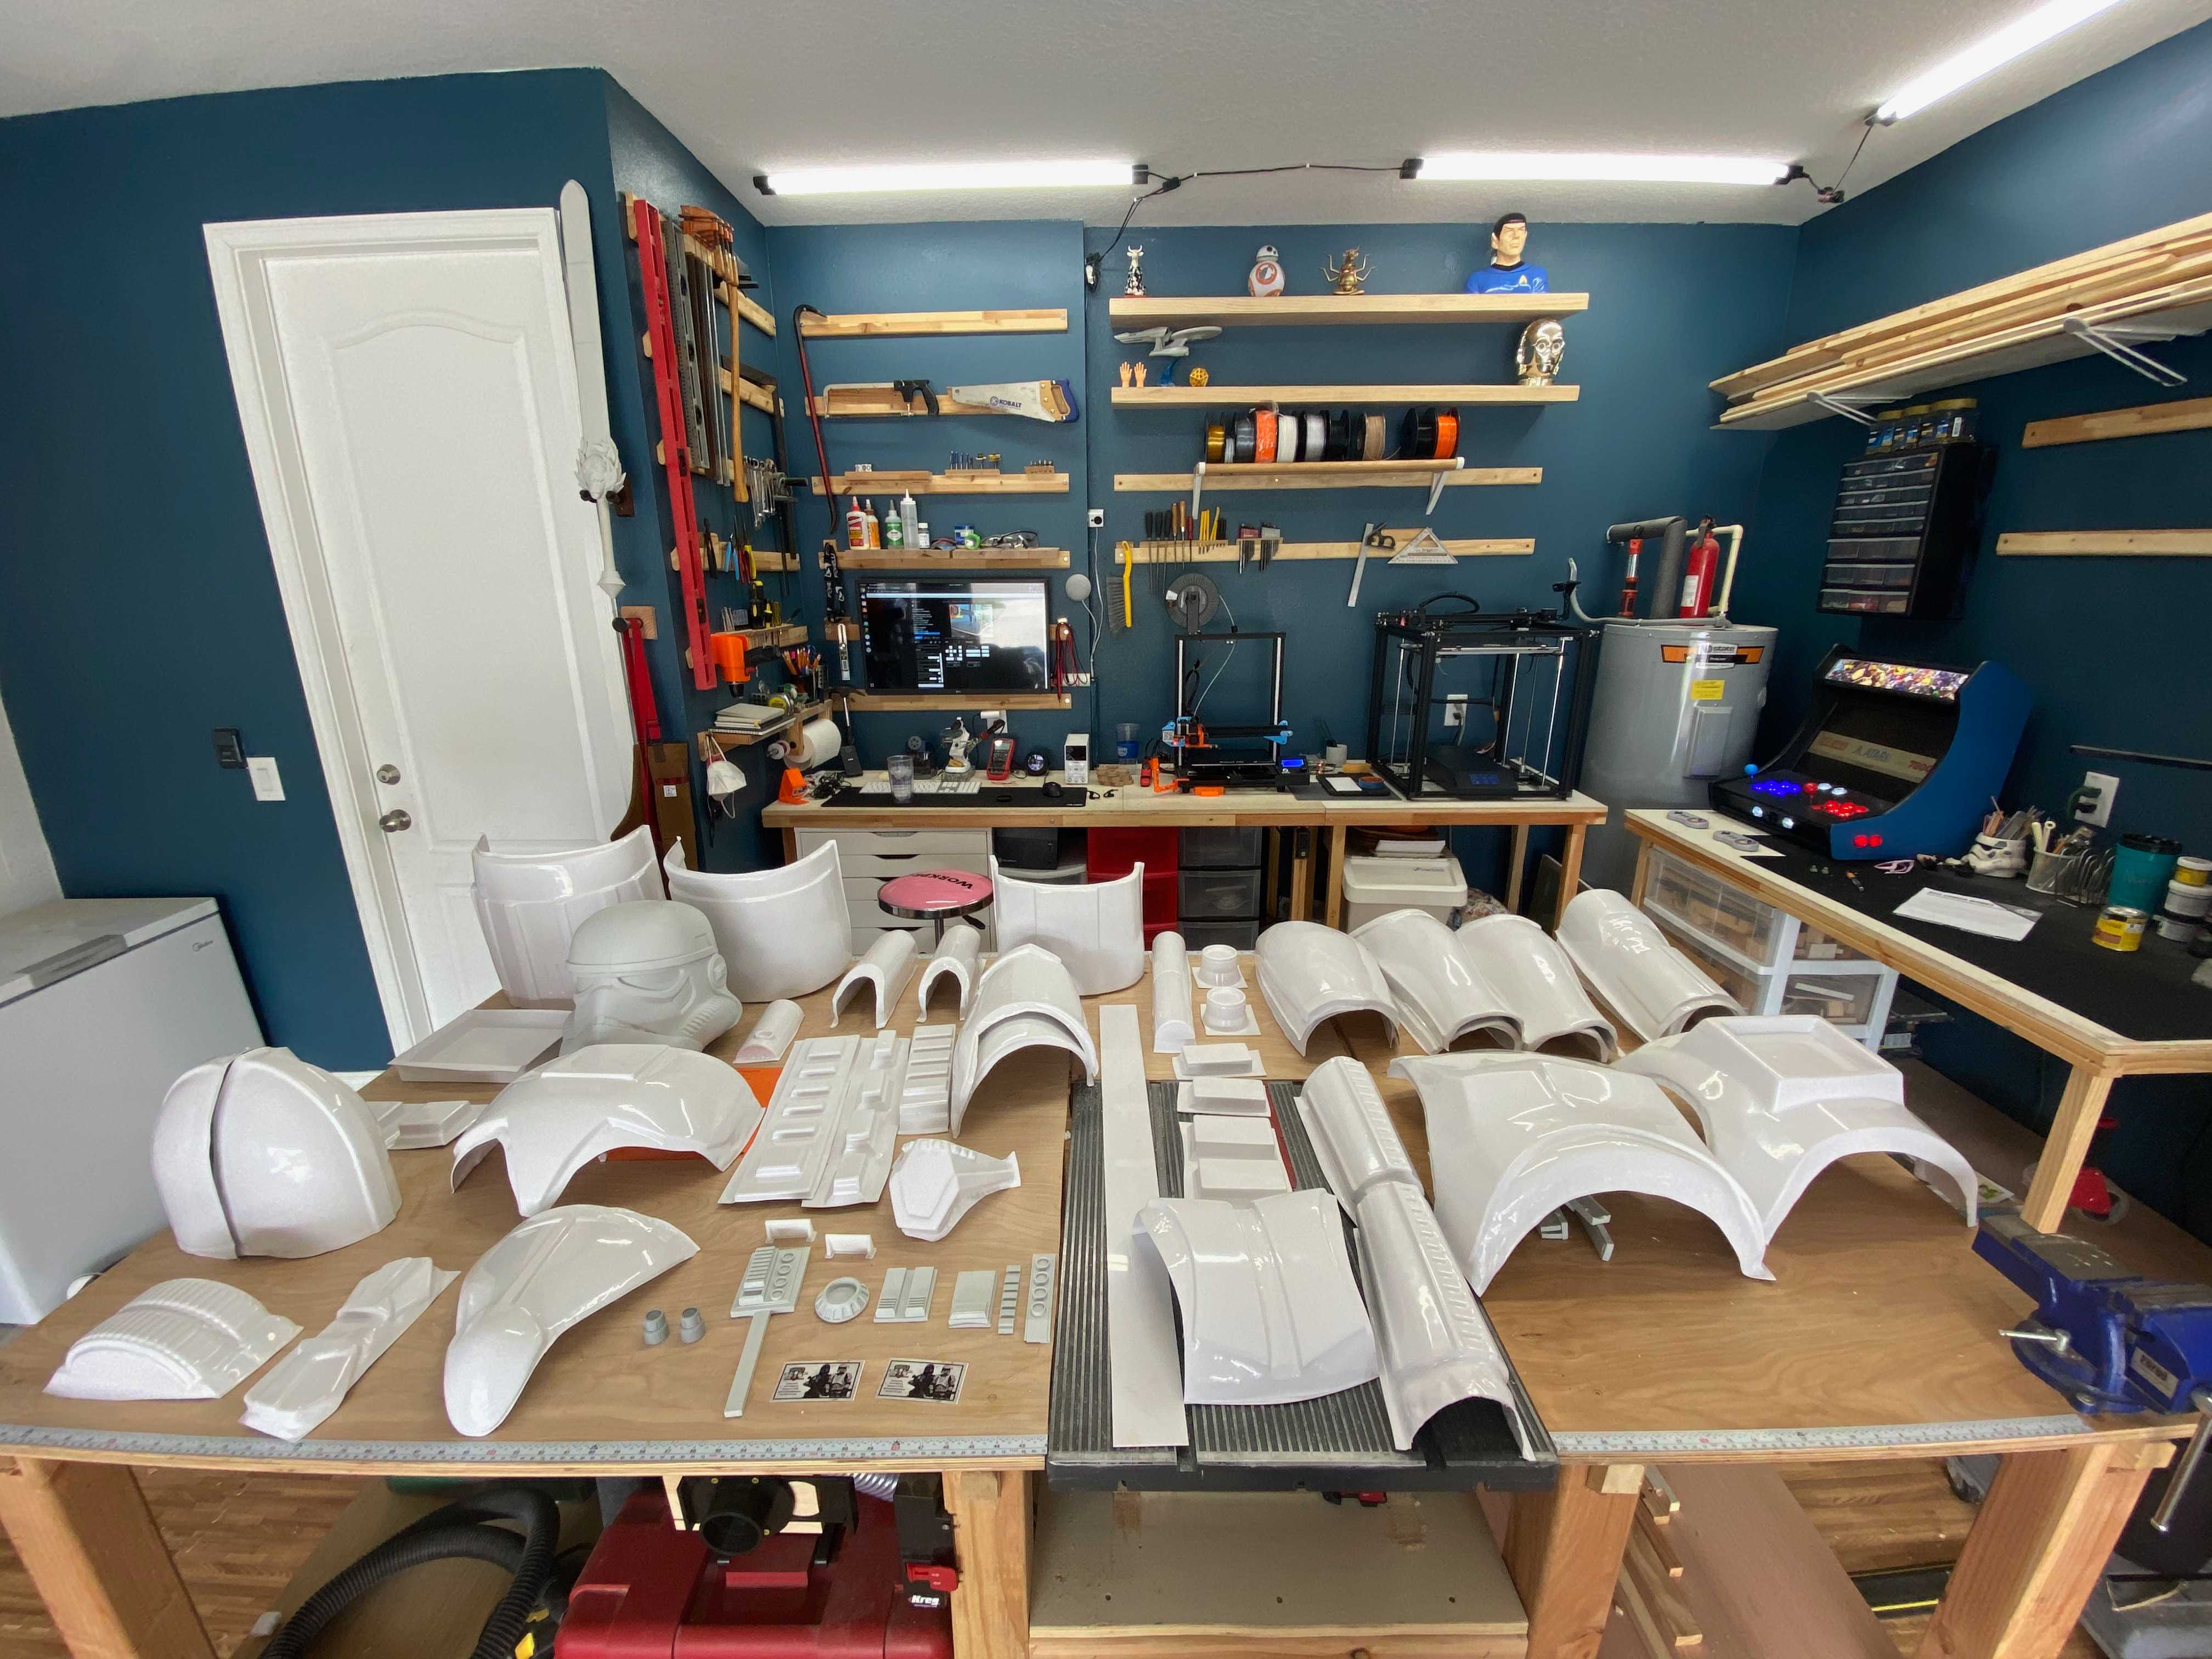
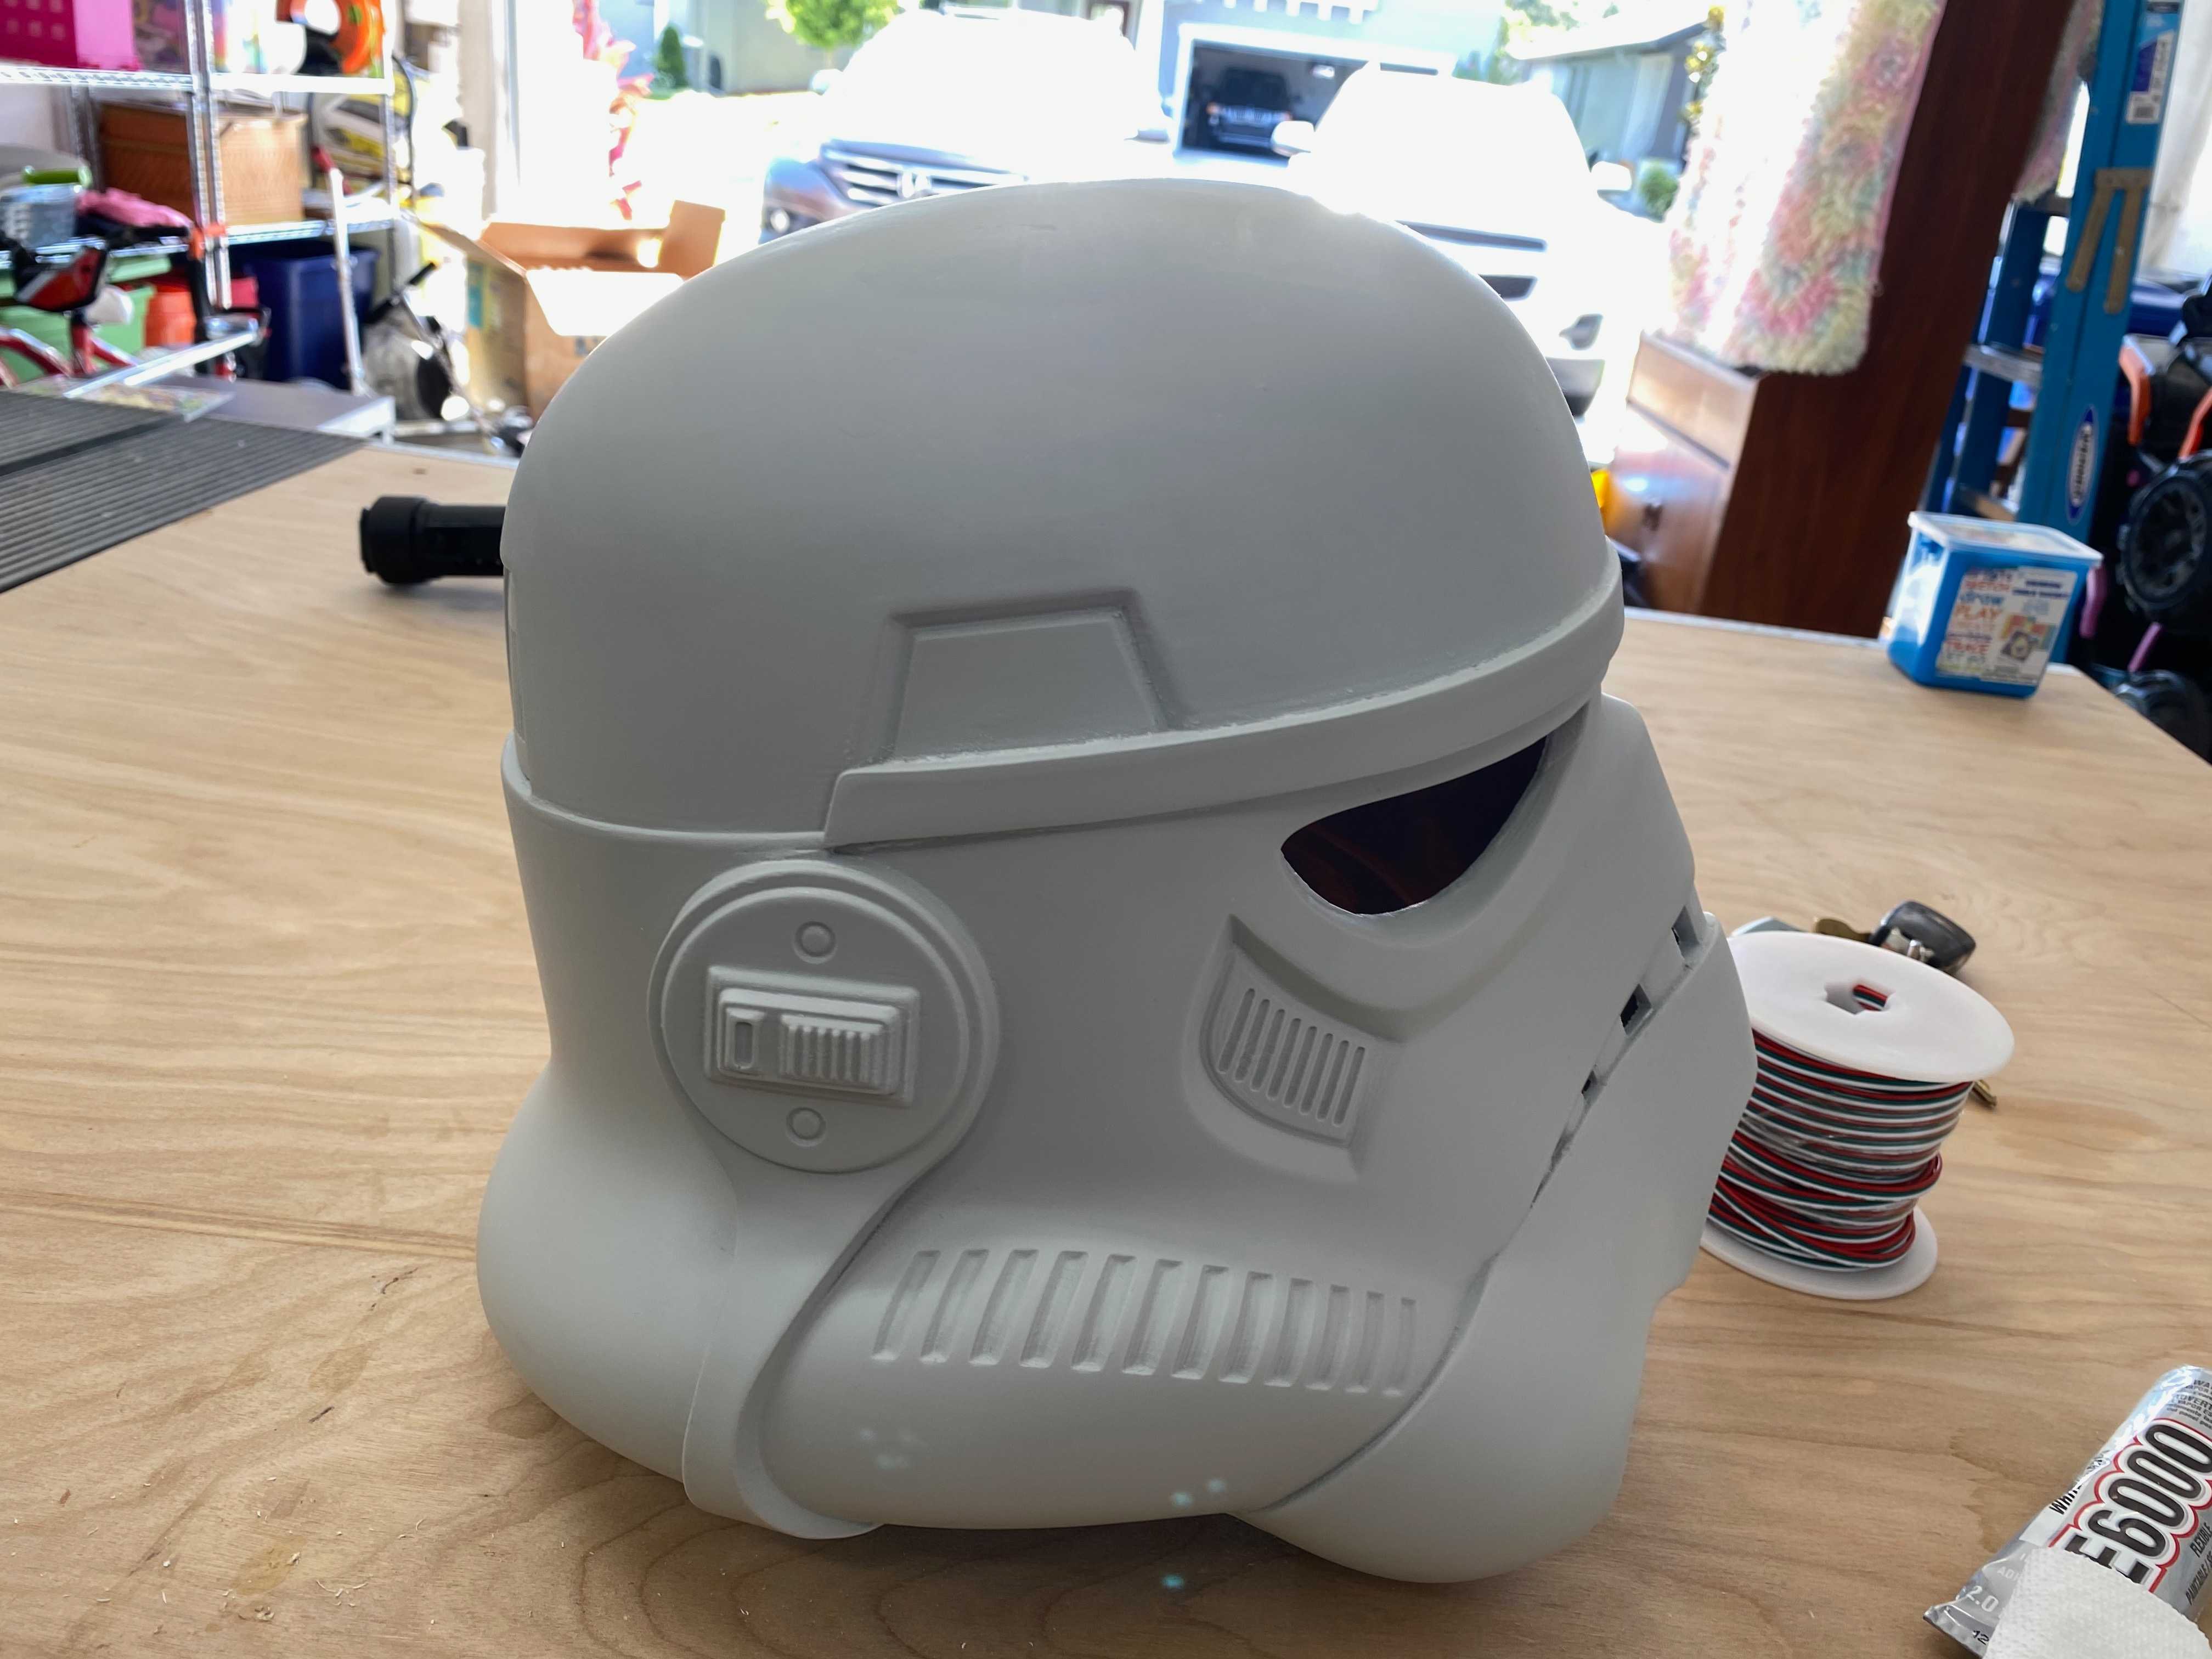
Going from what you see on the workbench above to that last picture is quite a lot of work. You can buy finished armor, but I opted for an unfinished kit to build it myself since, well, that's what I do apparently. The process involves quite a lot of steps. The first in the journey is trimming the ABS down to its needed size and shape. The ABS comes with a lot of excess material so that it can accomodate different sized troopers. Once its cut to size, fitting it to your body is the next step. This involves creating a lot of strapping to hold the armor in its place and then iterating on that until it fits your body and looks correct according to the CRL. Oh, and at some point in there you need to buy all the needed softgoods and any extras you want like your gloves, undersuit, balaclave, boots, padding, helmet audio accessories, helmets fans, etc.

It's a long process.

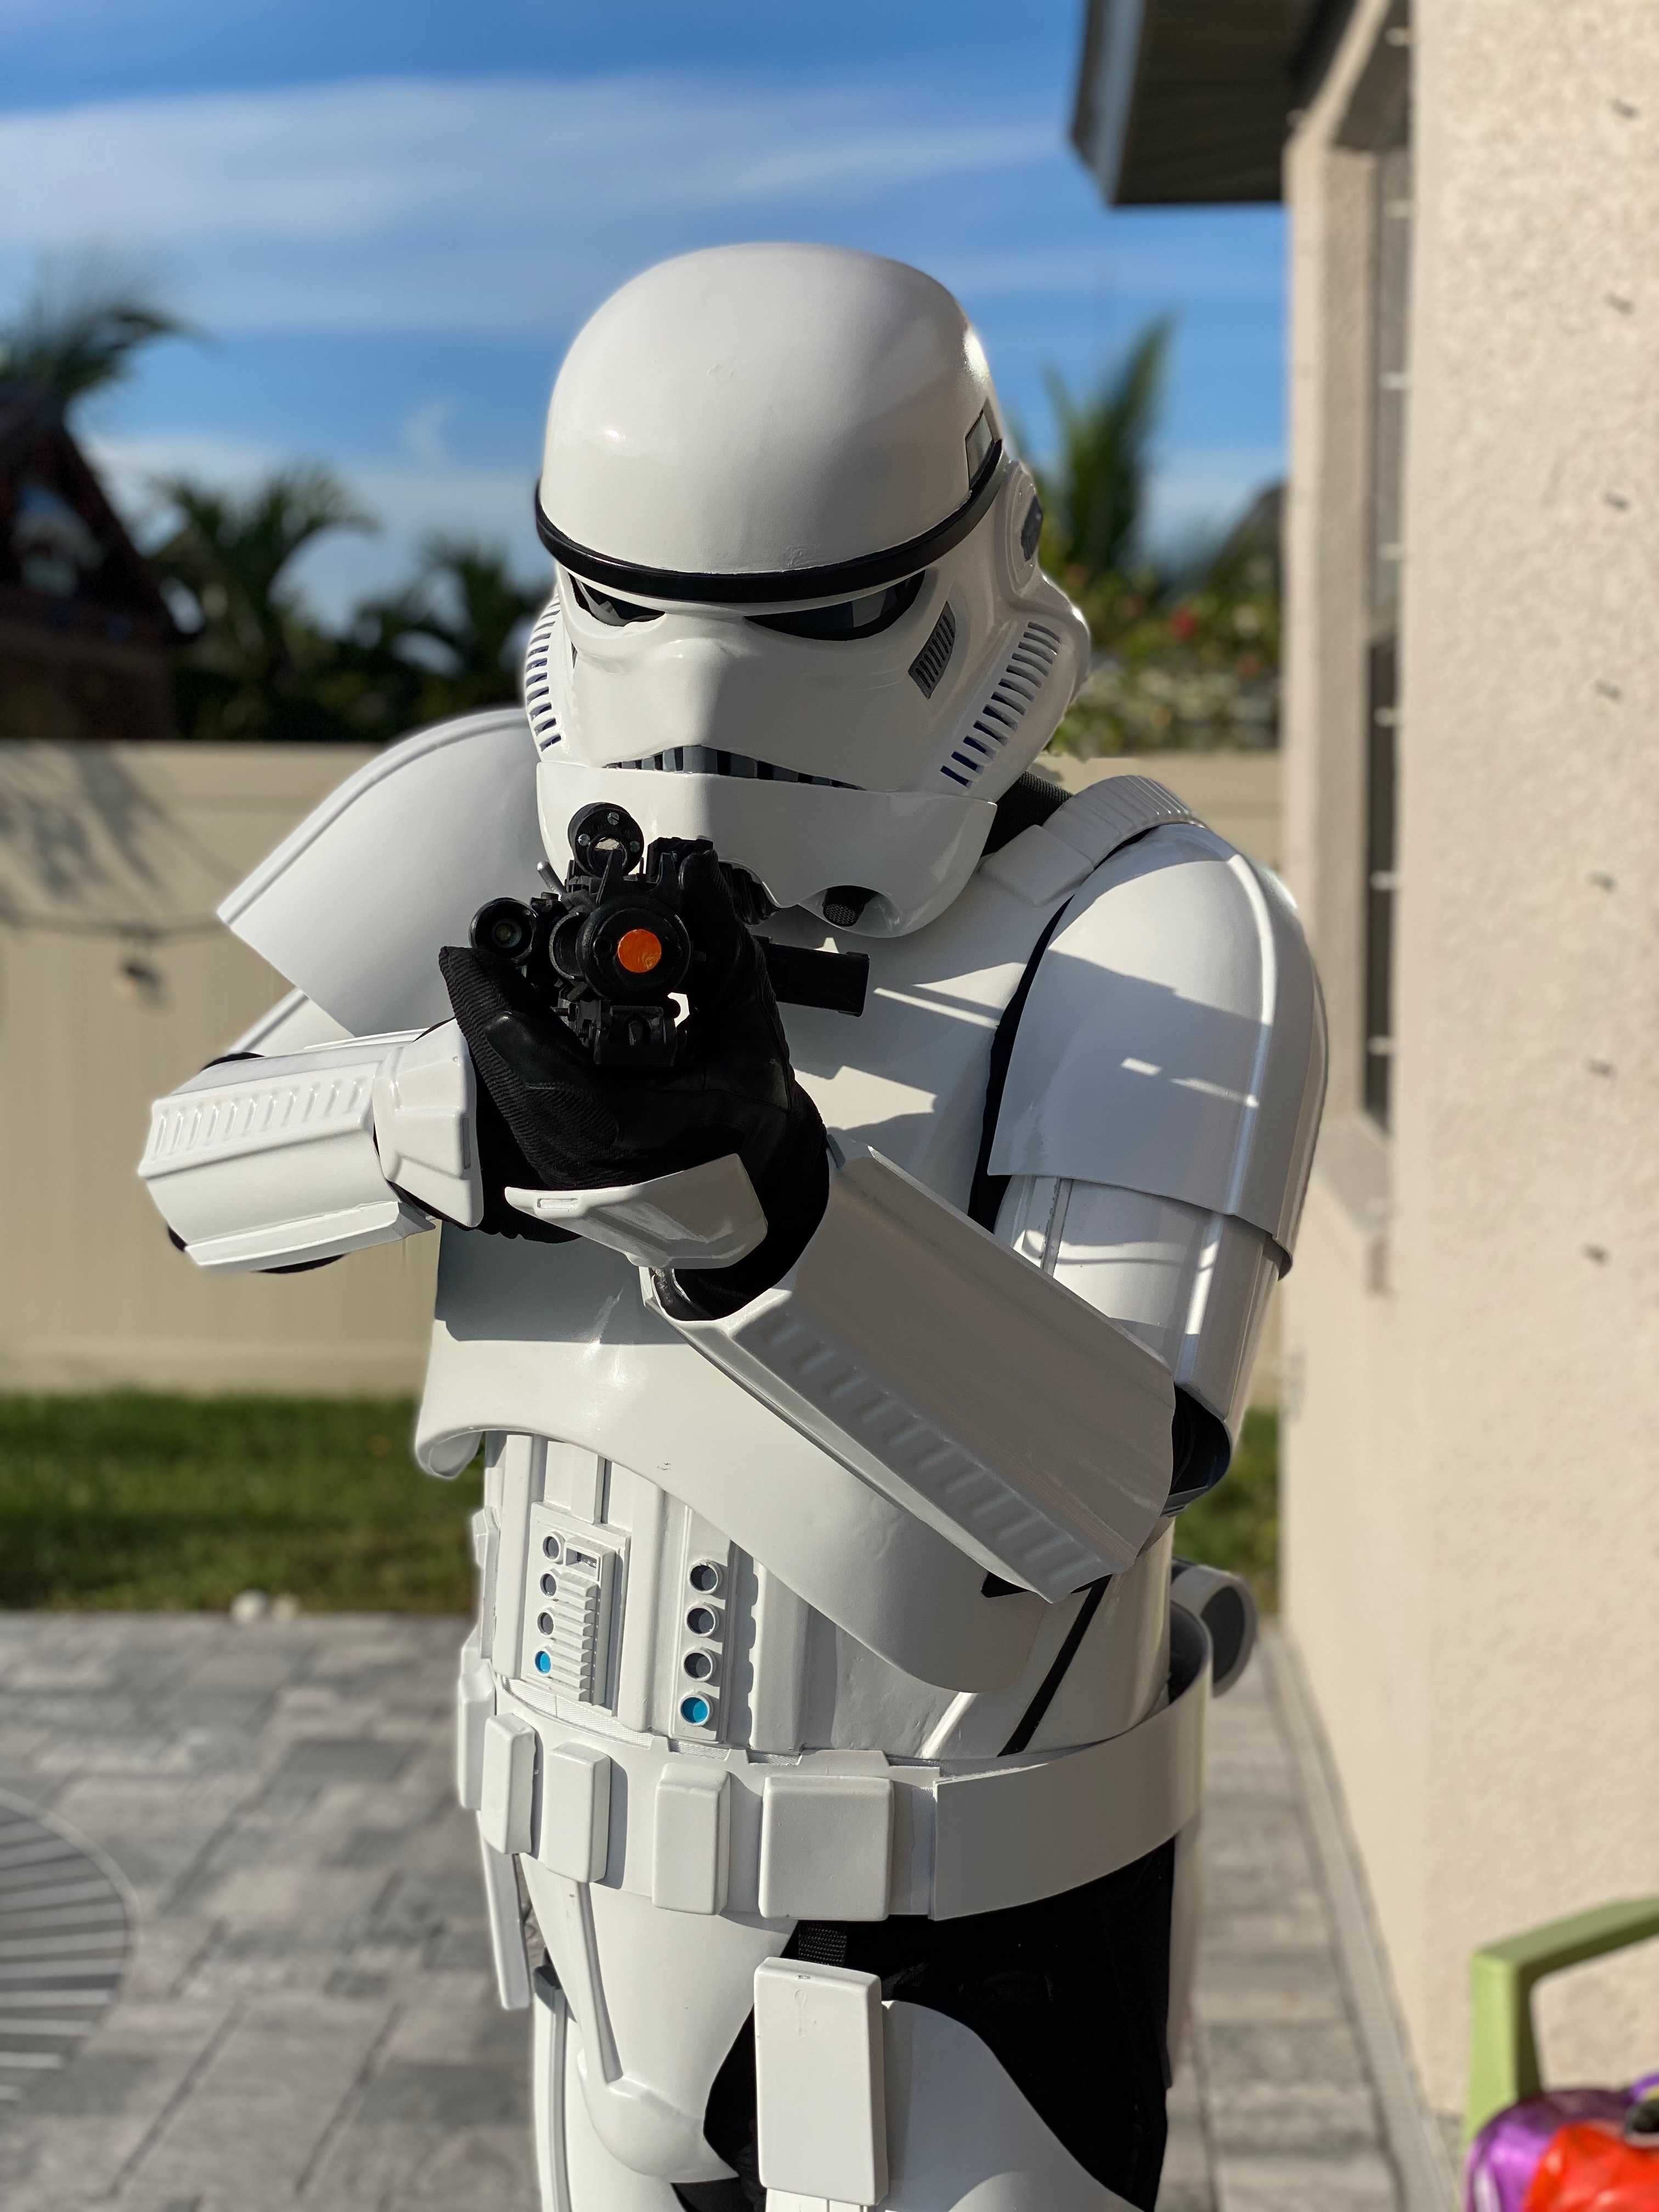
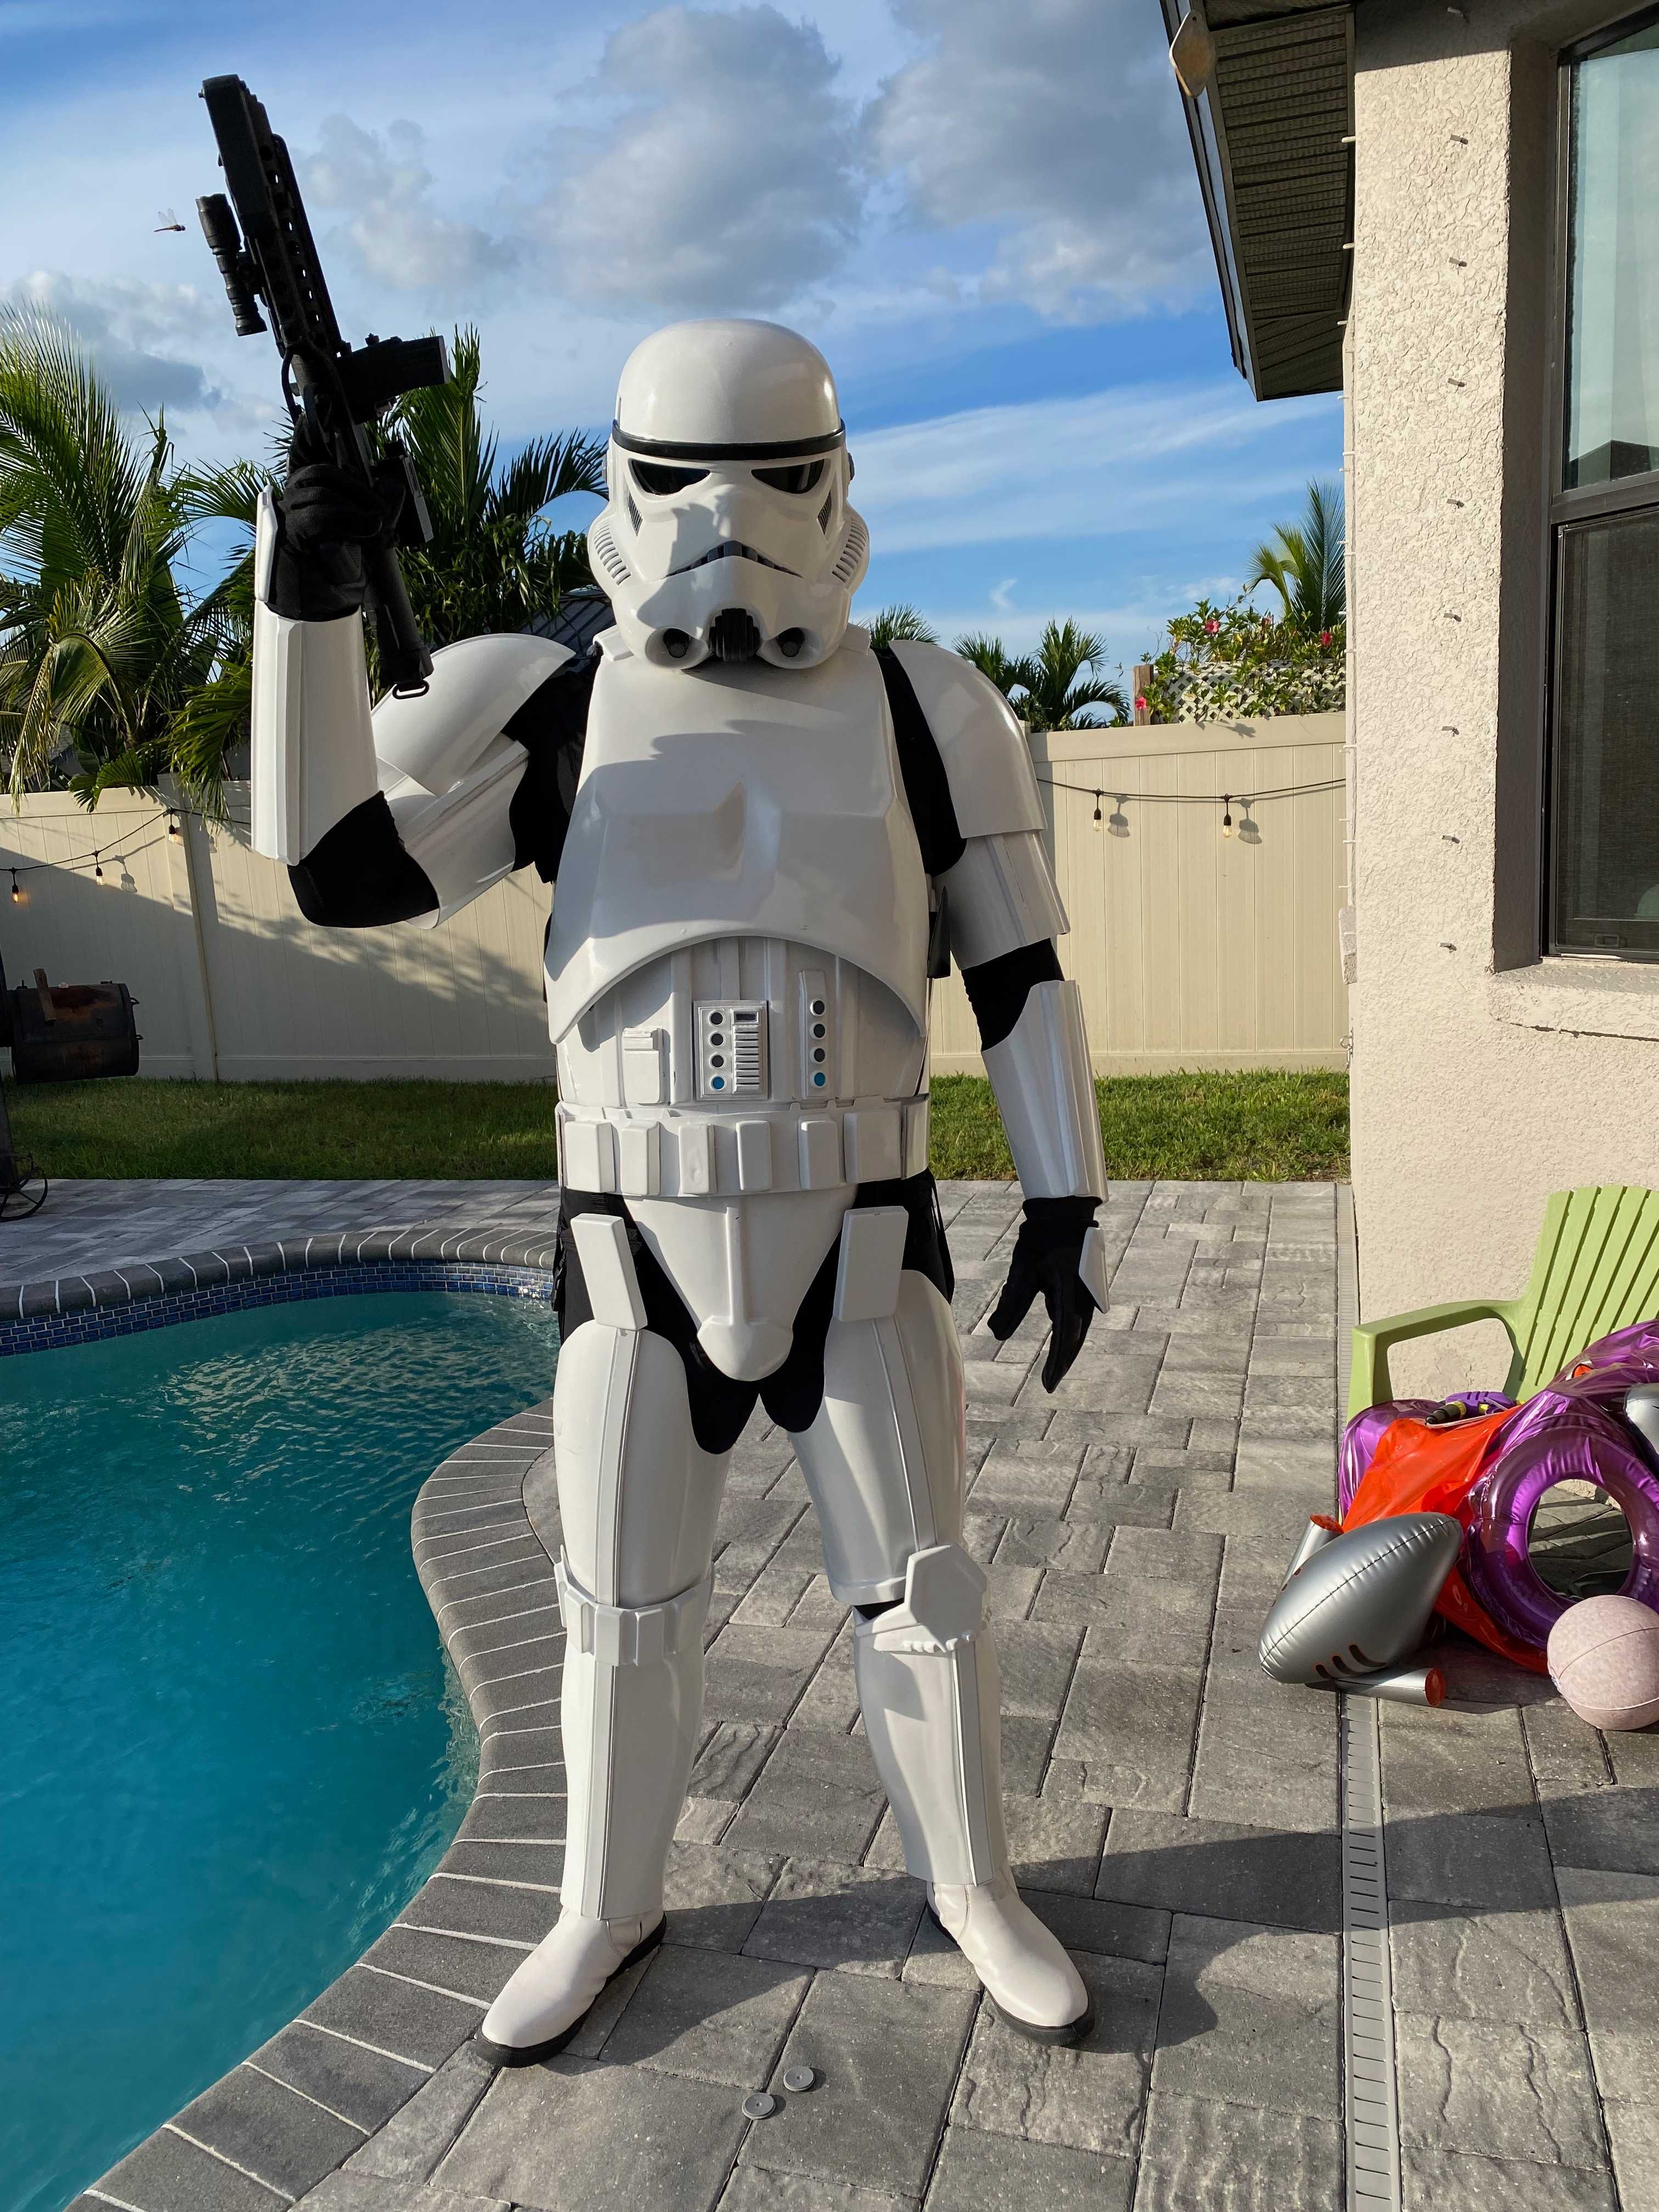
I say that because I am still not done with mine. That's mostly due to some home projects that were more important. I'm aiming for having it done in the next couple of months now that I have a place to work on it again. I'll be posting an update once I actually get approved, but in the meantime here is the current state.

I'm pretty proud of it.

Almost done!

Almost done!

To be continued...


PostedJune 20th, 2021#Matrix#WLED

That big space above your kitchen cabinets... what do you have there? Plants? Dust? Some comically big letters that spell something like "EAT?" It's probably dust. In every place I've lived, I've never known what to do with that huge blank canvas. I couldn't just leave it like that...

A few months prior, I made a small LED matrix for my desk. This is it running my implementation of Conway's Game of Life, written in Python (for those that care, of which I am one).

At first I decided to write my own software for the matrix and run it on a Raspberry Pi, but eventually swapped it out for WLED on an ESP-32. The Raspberry Pi was overkill for this and I could never hope to match the number of scenes and complexity that WLED offers.

I started doing some research into making a larger version that would fit in the aforementioned space. Taking into account the cell density and power requirements, I eventually settled on a 39x10 cell matrix with power injection at various points. I used several strips of WS2812B string lights to complete the matrix. Here is a rough list of components I used to build it:

  • ESP-32
  • WS2812B LED Strips x 4
  • Meanwell 18A 5V Power Supply
  • 3-conductor wire
  • Foam Core Board
  • Several lengths of of 3/4" x 6" board
  • A ton of white fabric (velvet I think?) for the diffuser

I built the frame out of the lengths of board that fit the interior shape of the space above the cabinets. Due to a slanted roof at one end, this was non-trivial for an amateur woodworker... I then lined the back of the frame with foam core board to both give it structure and to act as a base to mount the LEDs. I also used foam core board to create the large grid of cells by making dividers with slits and interlocking them together. Below is how the finished structure looks without the diffuser installed.

The inside of the matrix

The wiring took quite a while as it included not only soldering connections but also laying the LEDs out in the correct places and hot gluing them down. It took several afternoons of work to finish. Here is the finished product before and after installing the diffuser. This was a Pride Clock scene that I programmed to show the time and slowly animate the background through a rainbow of colors.

Pride Clock Scene

Pride Clock Scene

Pride Clock Scene

And here is version one finally up on the wall with the fabric diffuser.

Pride Clock Scene

While I think it looks pretty good in the image above, I was not particularly satisfied with version one. I had three major problems with the first implementation.

The first problem is the gap on the right. Cutting and assembling the foam core board the way I did was not particularly accurate. I wound up with a gap on the right. I eventually just removed the diffuser that was creating the black strip and let that last column of cells be slightly wider. It looks better now that it blends in. I don't even notice it anymore.

The second issue related to tightening the fabric. I couldn't get it quite tight enough to eliminate all of the ripples in the fabric and also not put too much stress on the frame.

The third issue was something that completely passed me by until I was cooking on my birthday. My wife and I typically cook Steak au Poivre on our respective birthdays. Its one of our favorite meals. This particular recipe calls for you to flambé the brandy that you add to the cream. The first time I did it and watched the flames climb into the air and touch the fabric, I nearly had a panic attack. Luckily, it didn't catch fire...

I eventually landed on using diffusers from drop ceiling light fixtures. You can get these for around $10 a piece at your local hardware store and they can be cut to size. I bought several of them and used some quarter-round to secure them in place, almost like a frame.

This is the final result. Here is the matrix displaying WLED's implementation of Conway's Game of Life.

Any scene with a black background like the one above makes the ghosting caused by the diffuser not being tight against the grid pretty obvious. That would be a ton of work to completely fix and honestly at this point I think it's and issue I can live with. I've reached Good Enough. I just tell people I forgot to turn off anti-aliasing...

Jokes aside, more often than not what I want is something that has calming colors and isn't too distracting. The scene below is what I typically use for that situation.

And finally, here is an assortment of WLED presets being shuffled through. I have a scene that is meant as a demo mode in case someone asks what else it's capable of. It'll cycle through several scenes to stretch it's legs.

It's been a great centerpiece for our house and always gets comments when we have new guests over. Being able to color coordinate it for the holidays or display custom scrolling text for someone's birthday has been a fun way to set our house apart. Best of all, because the diffusers are frosted white, when the matrix is off it just looks like another boring white wall.


It's been on my mind since we moved into our new home that I wanted to somehow add our pool's temperature to HomeKit. Just being able to see if the pool is warm enough for swimming would be worth it alone, but a ton of other automations could follow.

After searching for existing products, for which there were none, I had to fall back to crafting my own solution. Other than woodworking, I really didn't have the means to create something that I felt was both safe and didn't look like total garbage.

Enter 3d printing...

A close friend of ours, who is really into 3d printing, knew we were interested in getting a 3d printer at some point and was keeping an eye on deals for us. A good price on a Sovol SV-01 popped up one day and we jumped on it.

I've had several ideas about how to do this, including inserting a temperature probe in our post-pump piping, inserting one in the strainer basket, and creating a floating temperature probe. The first option scared me since it required drilling a hole into our piping. The second and third options both seemed viable but I preferred the float approach.

Design

After getting the 3d printer dialed in and learning the basics of Meshmixer and Cura, I set about creating some prototypes. I eventually landed on a conical shape with the probe sticking out of the tip of the cone. This way, it would float due to the ballast at the top and the temperature probe would always be in the water since the battery weight would be in the cone. The electronics would sit at the top, above the battery and temperature probe. A screw cap would be sealed to the top to keep water out.

The temperature probe 1

The temperature probe 2

The temperature probe 3

As you can see in the pictures, the probe sticks out of the tip and the wire runs inside the cavity past the NiMh battery to where the circuit board will be mounted to a mounting plate. After testing whether it would actually float the way I wanted it to (it did), I started working on the electronics

Electronics

I needed this project to be super low-power, so I opted to use a variant of the ESP8266 that is designed with low power applications in mind: the ESP-01. This version of the ESP8266 does not have UART, so you will need a USB to Serial adapter and a way of regulating the voltage down from the 5 volts USB provides to the 3.3 volts the ESP-01 requires. Some people say you can use 5 volts and get away with it, but I'd rather not risk it.

I also needed a power source. I considered using solar to charge a battery, but decided to keep version one simple. Besides, if I can get the battery usage low enough it can run for months and in some cases years on a single charge, battery characteristics being the major wildcard in that calculus. I decided to go with a 6V 2400 mAh NiMh battery since it's safer to use in the water as opposed to lithium ion. It too would need its voltage regulated down to a safe 3.3 volts, which I did with a MCP1700 voltage regulator.

The temperature probe 4

The temperature probe 5


In order to measure temperature, I used a simple water-proof version of the DS18B20 temperature sensor. As opposed to the bare DS18B20 that can be mounted direcetly to a PCB, the water-proof version comes within a sealed steel sleeve that fits nicely at the end of the probe. I used a small amount of sealant around the probe, but it was mostly sealed due to the tolerances between the probe and the float.

The temperature probe
I am a novice when it comes to creating electronics so there was a bit of a learning curve here with regards to how to wire everything together, but I figured it all out pretty quick. Here is the first version of the PCB finished. I added some pins for easy programming in case I needed to reflash the firmware. I also added some comformal coating to the PCB just in case moisture gets in.

The temperature probe 6

The temperature probe 7

And here is the final product, sans lid.


The temperature probe 8

One problem with the ESP-01 is that it doesn't natively support deep sleep. This is a mode you can put the ESP-01 into where it uses an extremely low amount of power, wakes itself up periodically to perform a task, and goes back to sleep. You can get literal years out of these on a single charge if your battery will allow for it and its done right. However, like I said, it isn't supported natively out of the box. In order to enable it, you have to do some extrenely precise soldering between a pin on one of the ICs and the reset pin of the board. I followed this Instructables guide in order to make sure I got it right. It took several attempts before I got it, but eventually I was successful. It was extremely tedious...

The temperature probe 9

Software

Updating the firmware on an ESP-01 is done using the Arduino IDE. I would share the code, but it's fairly custom to my set up. I have the ESP-01 turning on, connecting to WiFi, reading the temperature, and logging the temperature value to an instance of Homebridge's HTTP Temperature sensor library and an InfluxDb instance I run on my server for historical data as well as Grafana graphs. After that, I tell the ESP-01 to sleep for 10 minutes and repeat.

After doing that, I can perform automations in HomeKit as well as render some pretty sweet graphs of the temperature changes throughout the day. As you can see, I've put these in a few places around the house to model how the temperature changes throughout the day. Needless to say, attics in Florida get extremely hot, and its not even summer yet!


Grafana!

Final Thoughts

This project is definitely still in progress and I have some thoughts on improvements for the next version. Some things I would do differently would be to not use a screw-top to seal the lid. The threads never really worked very well, making it nearly impossible to get it on very far. I'd also probably use a different shape as this took forever to print and could probably be made a lot simpler. Another change will be to switch out the batteries for LiPo after a while. Lastly, I wouldn't print it in PLA. From what I've read, it's not the best to use in water and may eventually fail. Luckily, it's not a hard project to recreate so we'll see how version one does.

In the end though, it's working well and I'm pretty proud of it. Battery life seems promising and if my current calcuations are correct, it should last for at least a year on one charge. Even if it only lasts a few months, that would be totally fine by me since charging doesn't take long. Updates forthcoming!

First voyage! 1

First voyage! 2


PostedSeptember 9th, 2020#RPG#Dusk City Outlaws

A few weeks ago we wrapped up our first job within Dusk City Outlaws, a game that I'd been really excited to play for quite some time. Some friends of ours had started a job with us pre-quarantine but getting together to finish it became somewhat of a chore and eventually it fell by the wayside. A couple months into quarantine and we all needed an escape, so it felt like a good time to get The Right Kind of People together and do some crimes.

Dusk City Outlaws


After getting familiar with the rules and watching some videos of jobs (this Hat Films series where they play The Canal Job is a must watch), I wound up selecting The Ship Job for our playthrough. It took us 3-4 sessions to get through the job despite it being a game that in reality can be played through in a day. That's mostly due to the fact we can only play one day a week and only after hours since we have children. It's also due to us roleplaying way more than we should have, but I'll get to that later...

One of the first things a new Dusk City criminal will notice is that a lot of the world building is done by the players themselves. The job gives a basic outline of who the NPCs are in the story, their motivations, and the setting but everything else is decided by The Judge or the players. When a player sets out to Case The Joint, they usually describe what the area they are casing looks like. The Judge then decides what, if any, intel the person gathers from that particular scene or if they run into any trouble.

This was a lot of fun as it involved everyone in worldbuilding and didn't place a huge upfront burden on The Judge to flesh out a full campaign as something like 5e does (if you're rolling your own campaign). This lead to some great scenes such as our Gravedigger player (my wife) inciting hysteria about a plague near the docks to help clear some of the dock workers during the heist.

As with all new things, I also made a lot of small mistakes in this campaign. I now have a better feel for the mechanics and things to avoid. One of the bigger mistakes I made was letting my heat build up. Heat is the resource that The Judge spends to introduce complications to the job. I introduced the players to a couple small complications, but I was enamoured with the prospect of a plot twist later on in the job. The only issue is if you wait too long in the job to reveal the plot twist, you may run into a situation where the players don't have much time to react to it.

In this job in particular, I introduced a plot twist on the last day of the job. The plot twist was that while they were executing the job, pirates attacked the harbor. Because it was the final day of the job, the only real thing the players could do was to take advantage of the situation and try to get out during the mayhem. They succeeded, but it felt like I had pulled the rug out from under my players. They had spent the whole job setting up their plans and even had contingency plans in place if that fell through and then I literally and figuratively blew up their plans by throwing this huge obstacle at them without any time to react in a meaningful way.

Kind of a bad move in hindsight...

Next time I'd like to play in a way that adds suspense over time and maybe save a little extra for something special towards the end, but no way will I be hoarding heat like I did this time.

Some other points I got out of this playthrough was the importance of really limiting planning to planning scenes and not making everything into a drama scene. Planning in Dusk City Outlaws happens in 15 minute scenes and is limited to that scene. You literally start a timer. We have a talkative bunch of players and they can easily eat that time up twice over if you let them. Let that happen enough and you look at your clock to see it's midnight. The Judge needs his/her beauty sleep after all...

Related to the last point, in 5e campaigns roleplaying is what we spend a lot of our time doing. That doesn't quite work in Dusk City if you want to finish a job in a reasonable amount of time. If someone has an ability to do something and it's reasonable that they could do that thing, you don't need to roleplay. If a Gravedigger wants to oversee a burial somewhere, why would you make that any more difficult than it needs to be? Let them describe the scene and get on with your day. Roleplaying took up a lot of our time when it didn't have to.

I don't mind roleplaying more than Dusk City expects, but a line does need to be drawn somewhere or else it can make things take significantly longer than they need to.

Overall, I really really enjoyed playing Dusk City Outlaws. It's become my go-to when we want to play a short RPG campaign. Definitely check it out if you like table top gaming even the slightest.

Dusk City Outlaws


Building a RetroPie based bartop arcade has been something I've had on my project list for quite some time now. As I mentioned with the bay window seat project, for our family quarantine has been a time of taking on smaller projects that we've been putting off for some time. This is the one I've been most excited about, especially since I've been slowly earmarking parts for it for a while now. I couldn't be happier with how it turned out.

My finished bartop arcade
After finishing the bay window seat project, I had a 4'x8' sheet of ¾" plywood left over which is more than enough to build a bartop arcade. I decided to go with a modified version of the popular Weecade design after taking into account the size of my screen. I decided on those plans mostly because I liked the profile of the cabinet a bit more than the oft mentioned Galactic Starcade cabinet from Instructables.

My woodworking skills are still novice at best so I made a lot of mistakes, but nothing that I couldn't cover up or account for in some other way. The plans for this project had many more odd angles that I had to account for which was a challenge but I learned quite a lot in the process. Here are some more pictures of the finished cabinet. I've had a blast playing with it and I'm so glad I've been able to share a little slice of my childhood with my children.

My finished bartop arcade
My finished bartop arcade light-up marquee
My finished bartop arcade controls  

James Miller